
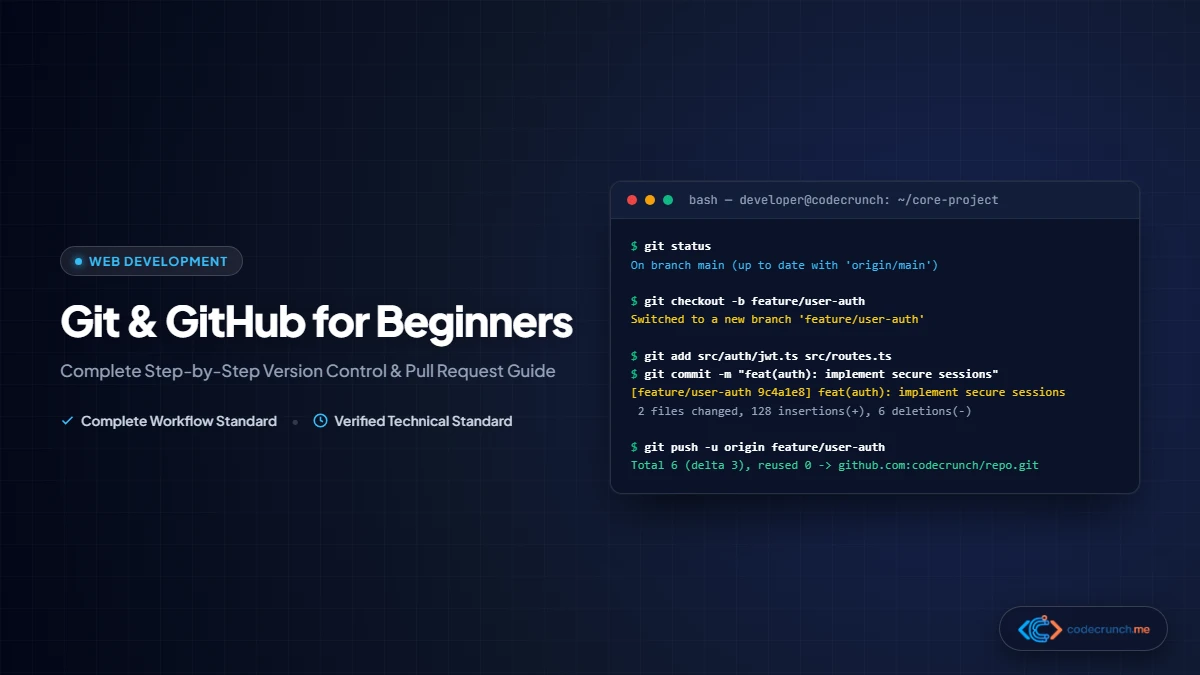
Every professional software engineer, web developer, and data scientist relies on version control daily. Without version control, collaborating on code would involve emailing zip files with names like final_website_v2_final_FINAL.zip—an error-prone nightmare that inevitably results in overwritten code and lost work.
Git and GitHub solve this problem permanently. Git functions as an infallible time machine that records every modification made to your codebase, while GitHub provides the collaborative cloud platform where teams review, merge, and deploy software together. In our guide on what a web developer does daily, version control is identified as a core cornerstone of modern engineering.
In this comprehensive, beginner-friendly guide, you will master the fundamental concepts of Git, establish a clean development workflow, and push your first project to GitHub with confidence.
- Git: The open-source, local command-line version control tool installed on your personal computer. Git runs entirely offline and tracks the revision history of your files locally.
- GitHub: A cloud-based hosting service and collaborative platform owned by Microsoft that stores remote Git repositories online, enabling teams to share code, review pull requests, and automate deployments.
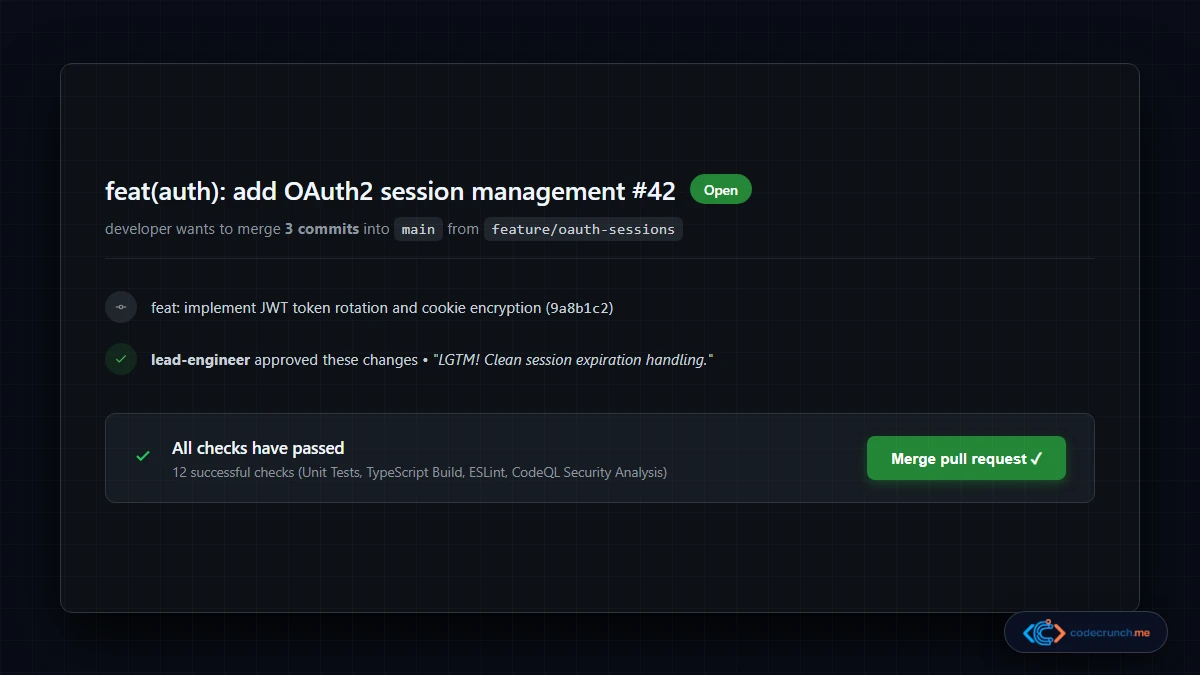
The Core Mental Model: Git’s Three States
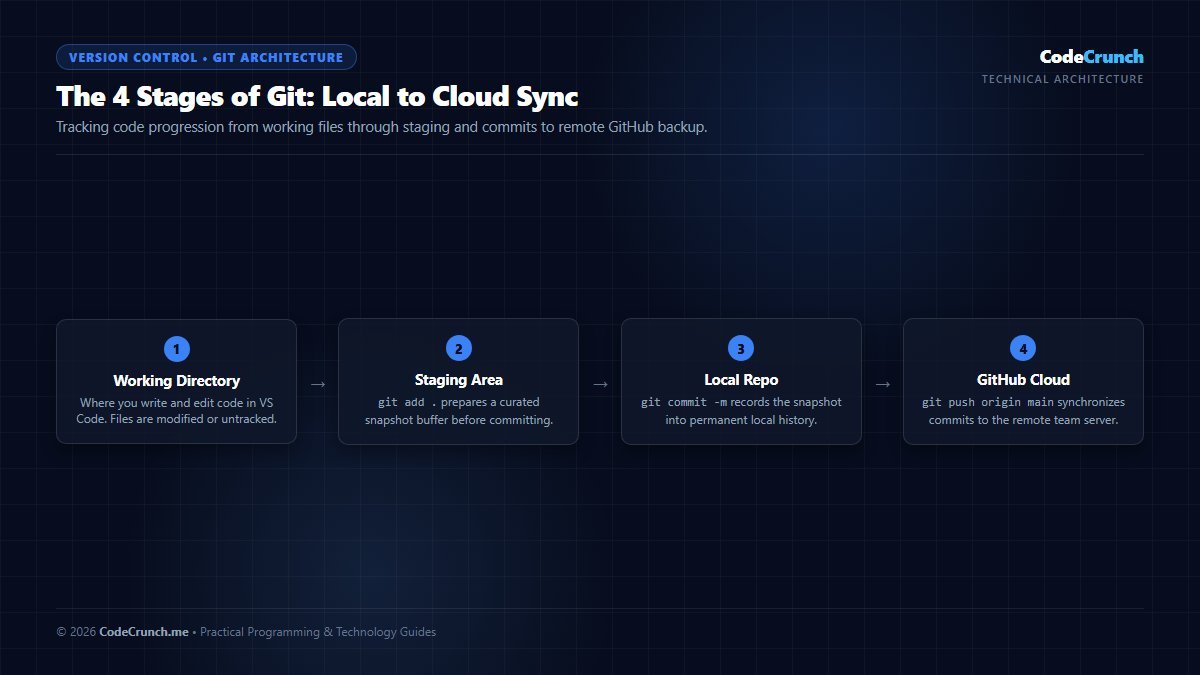
The Four Stages of Version Control: The diagram demonstrates how changes move through Working Directory (untracked/modified), Staging Area (indexed with git add), Local Repository (committed with git commit), and Remote Repository (synchronized with git push).
To understand Git commands, you must visualize how files move through Git’s internal architecture. At any moment, files in a Git-tracked folder reside in one of three areas:
| Git Stage | Physical Reality | Corresponding Git Command | Purpose |
|---|---|---|---|
| 1. Working Directory | The actual files and folders you see in your code editor. | Modifying code in VS Code | Where you write, test, and edit your code. |
| 2. Staging Area (Index) | A staging buffer preparing the upcoming snapshot. | git add <file> | Selecting precisely which changes should be included in the next commit. |
| 3. Local Repository (.git) | A hidden database containing permanent, immutable snapshots. | git commit -m "message" | Permanently recording the staged snapshot into project history. |
| 4. Remote Repository | The cloud-hosted repository on GitHub/GitLab. | git push origin main | Backing up your commits to the cloud and sharing them with team members. |
Initial One-Time Setup: Configuring Git
Before creating your first repository, configure your developer identity. Git attaches this name and email address to every commit you produce:
# Set your display name
git config --global user.name "Your Name"

# Set your email (use the same email registered on your GitHub account)
git config --global user.email "your.email@example.com"

# Set default branch name to 'main'
git config --global init.defaultBranch main

# Verify your configuration
git config --list
Step-by-Step: Your First Git & GitHub Project
Let’s walk through the exact lifecycle of creating a local web project and pushing it to a public GitHub repository.
Step 1: Initialize the Local Repository
Open your terminal (PowerShell, macOS Terminal, or VS Code Integrated Terminal), navigate into your project folder, and initialize Git:
# Navigate to your project directory
cd my-web-project

# Initialize a new Git repository
git init
Git creates a hidden .git/ directory. This directory is Git’s brain—it stores all historical commits, configuration flags, and branch pointers.
Step 2: Check Status and Stage Files
Suppose you just built an HTML structure following our tutorial on how to build a simple website from scratch. Check Git’s view of your workspace:
# Check repository status
git status
Your newly created files will appear in red under Untracked files. To prepare these files for a commit snapshot, stage them:
# Stage a specific file
git add index.html

# OR stage all files in the current directory
git add .
Running git status again shows the files in green under Changes to be committed.
Step 3: Create Your First Commit
A commit is a permanent milestone in your project history. Always accompany commits with descriptive, present-tense messages detailing what the commit achieves:
git commit -m "feat: initial commit with basic HTML structure and styles"
Step 4: Create a GitHub Repository and Connect Remotes
- Log in to your GitHub.com account.
- Click the + icon in the top right corner and select New repository.
- Name your repository (e.g.,
my-web-project), choose Public or Private, and leave “Initialize with README” unchecked (since we already initialized locally). - Click Create repository. GitHub will present commands to push an existing repository.
Copy and run the remote connection commands in your local terminal:
# Link your local repo to the remote GitHub URL
git remote add origin https://github.com/your-username/my-web-project.git

# Push your local commits to the main branch on GitHub
git push -u origin main
The -u (upstream) flag tells Git to remember this remote branch, allowing you to use simply git push or git pull on future syncs.
Branching: The Secret to Fearless Development
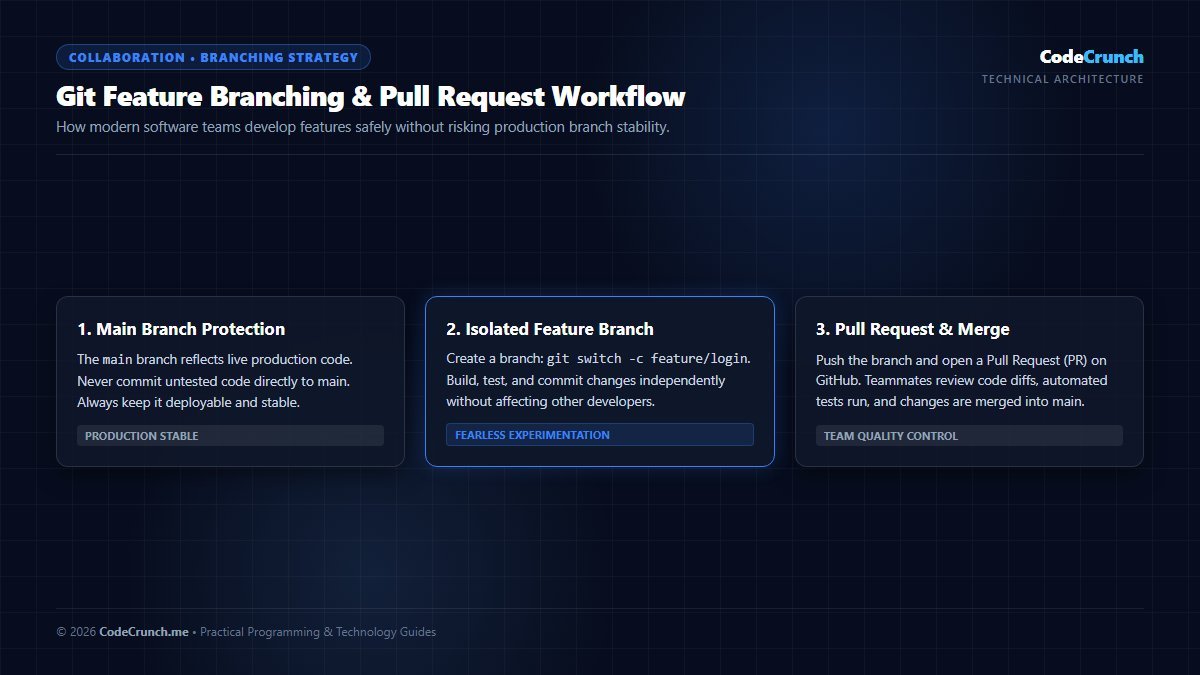
Feature Branching & Pull Request Workflow: Developing isolated features on separate branches protects the production main branch from unverified code. Pull requests allow peer code reviews, automated CI/CD test runs, and conflict resolution before merging.
Professional Git Recovery Workflows: Rescuing Lost Work
Even seasoned developers make mistakes with version control. Git records every commit hash and branch tip reference, making it nearly impossible to permanently lose committed work if you know the right recovery commands:
- Temporary Storage with
git stash: If you need to switch branches urgently without committing incomplete code:git stash save "Work in progress on user checkout" # Switch branches, perform hotfix, then return: git stash pop - Undoing the Last Commit (Keep Changes): If you committed prematurely or forgot to include a file:
git reset --soft HEAD~1 # Your files remain staged in the index, allowing you to edit and re-commit - The Ultimate Safety Net (
git reflog): If you accidentally hard-reset or deleted a local branch,git refloglists every single HEAD movement in chronological order, allowing you to check out any lost commit SHA:git reflog git checkout -b recovered-branch <commit-hash>
For complete documentation, explore the official Pro Git Book by Scott Chacon & Ben Straub and the GitHub Official Documentation.
In professional teams, developers never push untested code directly to the main branch. Instead, they use feature branches. A branch is an independent timeline where you can experiment, build features, or fix bugs without risking production stability.
# 1. Create and switch to a new feature branch
git checkout -b feature/contact-form
# Or in modern Git:
git switch -c feature/contact-form

# 2. Make changes to your files, then stage and commit
git add contact.html
git commit -m "feat: build contact form with client validation"

# 3. Switch back to the main branch
git switch main

# 4. Merge the completed feature into main
git merge feature/contact-form

# 5. Delete the feature branch once safely merged
git branch -d feature/contact-form
The Essential .gitignore File
Not every file belongs in your repository. Build artifacts, temporary operating system files, and sensitive credentials must never be committed to public GitHub repositories.
Create a file named .gitignore in your project root and list files or patterns to ignore:
# Node dependency folder (can be thousands of files)
node_modules/

# Environment files containing secret API keys and database credentials
.env
.env.local

# Operating system metadata
.DS_Store
Thumbs.db

# Log files
*.log
.env files containing secret API tokens or database passwords. Once pushed to a public repository, automated web scrapers index secrets within seconds.How to Resolve Merge Conflicts Without Panicking
A merge conflict occurs when two branches modify the exact same line of code in differing ways, leaving Git unsure which version should take precedence. When this happens, Git pauses the merge and inserts conflict markers directly into the affected file:
<<<<<<< HEAD
<h1>Welcome to CodeCrunch Technology Guides</h1>
=======
<h1>Welcome to CodeCrunch: Practical Web Development</h1>
>>>>>>> feature/header-update
Resolving a conflict is straightforward:
- Open the conflicted file in VS Code (which highlights both options with clear buttons: Accept Current Change, Accept Incoming Change, or Accept Both).
- Manually edit the code to your desired final state and delete the conflict marker lines (
<<<<<<<,=======,>>>>>>>). - Stage the resolved file:
git add <filename>. - Complete the merge commit:
git commit -m "fix: resolve header text merge conflict".
The Daily Git Command Cheatsheet
| Command | What It Does |
|---|---|
git status | Displays working tree status (untracked, modified, or staged files). |
git log --oneline | Displays a clean, chronological history of past commits. |
git diff | Shows line-by-line code differences before staging. |
git pull origin main | Fetches and merges the latest updates from the remote GitHub repository. |
git branch -a | Lists all local and remote tracking branches. |
git restore <file> | Discards uncommitted changes in your working directory, reverting to the last commit. |
Frequently Asked Questions (FAQ)
What is the difference between git pull and git fetch?
git fetch downloads new commits and branches from the remote GitHub repository into your local .git database without modifying your actual working files. git pull performs two actions in one step: it executes git fetch and immediately performs a git merge to integrate those remote changes into your active branch.
What is a Pull Request (PR)?
A Pull Request is a GitHub collaboration feature where a developer asks teammates to review and approve changes on a feature branch before merging those changes into the primary main branch. Pull requests allow team members to leave inline code comments, run automated tests, and ensure code quality.
Can I undo a Git commit?
Yes. If you made a commit locally and want to undo it while keeping your modified code intact, use git reset --soft HEAD~1. If you want to undo a commit and completely discard the changes, use git reset --hard HEAD~1 (use with caution, as hard resets permanently erase uncommitted work).
Next Steps on Your Developer Roadmap
Version control is a vital foundational skill that accompanies you throughout your software engineering career. To see where Git fits into your broader technical journey, review our step-by-step frontend developer roadmap and explore our hands-on tutorial on building a website from scratch.