
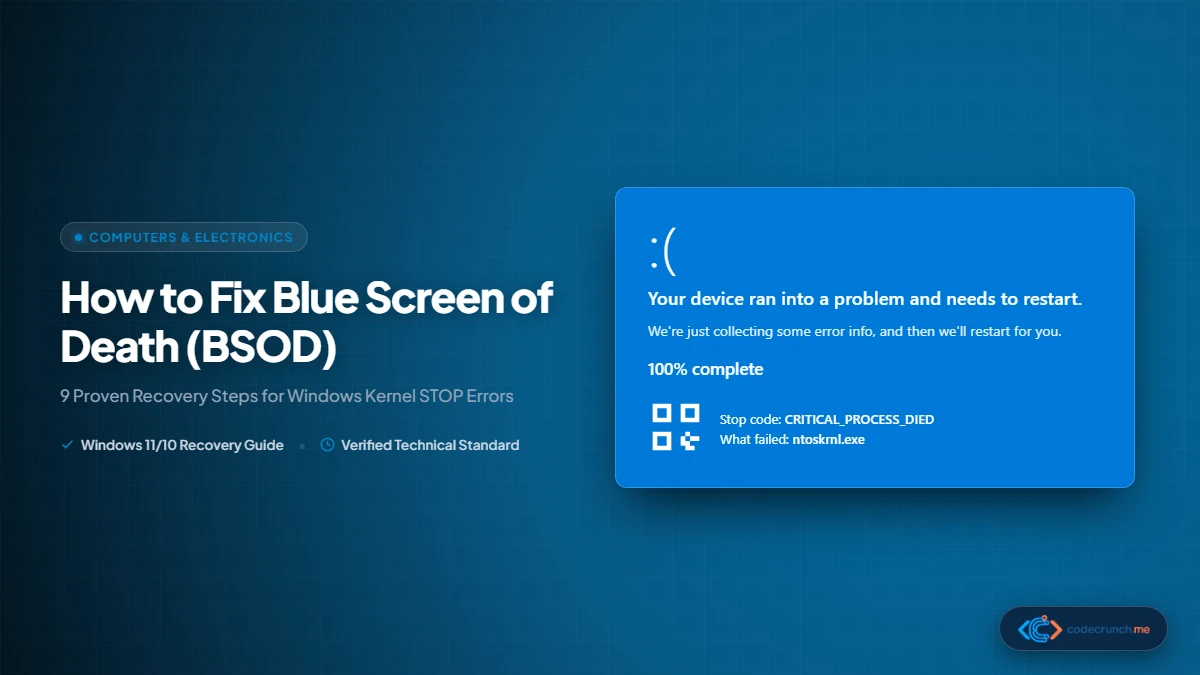
Few computer errors are as alarming as the Windows Blue Screen of Death (BSOD), technically known as a Windows BugCheck or kernel stop error. When a critical kernel-level subsystem, driver, or hardware component experiences an unrecoverable fault, Windows halts operating system execution immediately. While terrifying to witness, a BSOD is actually a safety mechanism designed to protect your file system from catastrophic data corruption.
Whether your PC is trapped in an infinite boot loop or suffering from intermittent crashes during heavy tasks, this systematic 9-step troubleshooting guide will help you isolate the root cause, repair corrupted components, and return your system to rock-solid stability.
If your computer cannot reach the desktop, force a shutdown by holding the physical power button for 10 seconds. Power it on, and as soon as the manufacturer logo appears, hold the power button again. Repeat this three times to trigger the Windows Recovery Environment (WinRE), where you can access Startup Repair, Safe Mode, and Command Prompt.
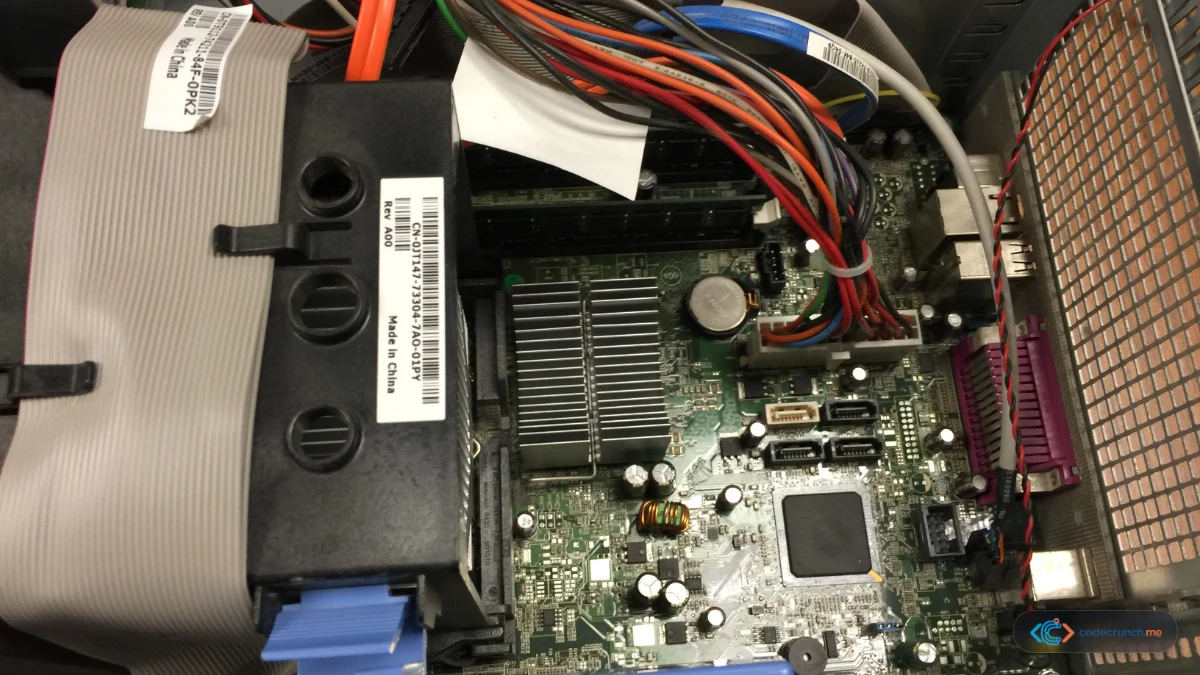
Decoding Common Windows BSOD Stop Codes
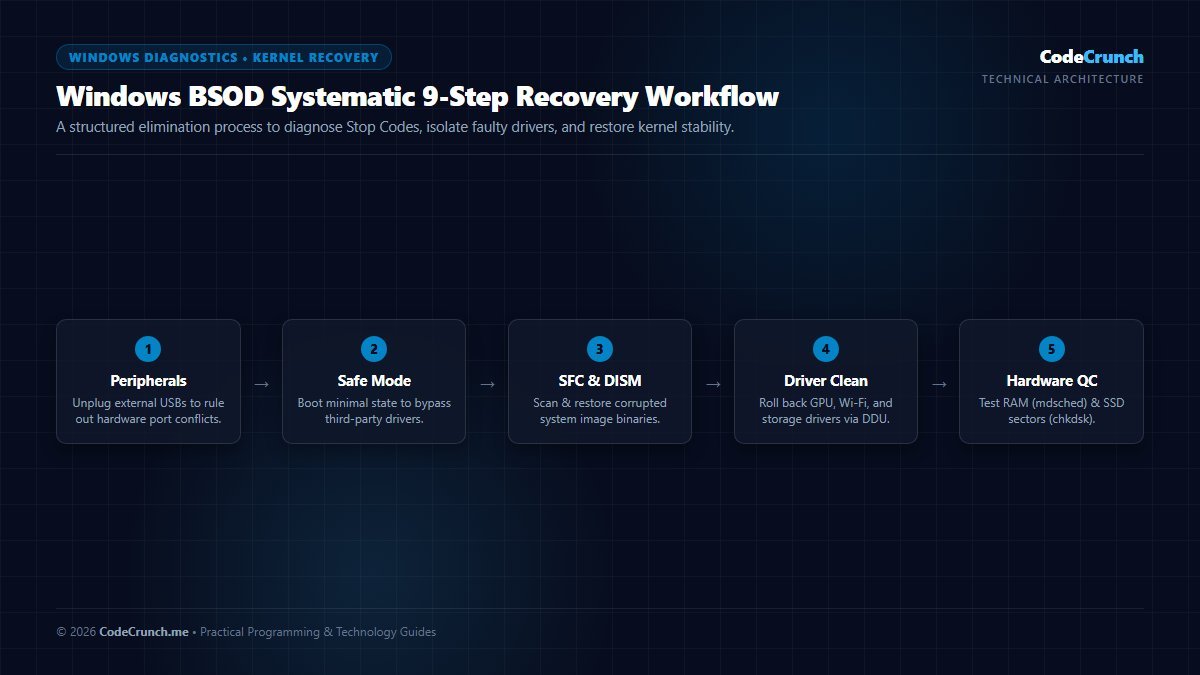
Kernel Error Classification: The matrix above categorizes stop codes into their operational failure domains. Stop codes prefixed with PAGE_FAULT or MEMORY_MANAGEMENT point directly to address translation issues in physical RAM, while DPC_WATCHDOG_VIOLATION indicates a storage driver failure or SSD firmware stall.
Every modern Windows BSOD displays a specific alphanumeric code or symbolic text identifier called a Stop Code. Identifying this code is the single most valuable clue in determining whether your crash is caused by a corrupt third-party driver, a damaged Windows update, or failing physical hardware.
| Stop Code / BugCheck | Primary Culprit | Most Likely Causes | Immediate Action |
|---|---|---|---|
CRITICAL_PROCESS_DIED | System Service Failure | Corrupted system binaries, damaged registry hive, failed drive | Run SFC and DISM image repair tools. |
IRQL_NOT_LESS_OR_EQUAL | Driver Access Violation | Outdated or corrupt GPU/Wi-Fi drivers attempting invalid memory access | Update or roll back recently installed device drivers. |
PAGE_FAULT_IN_NONPAGED_AREA | Memory Subsystem Error | Faulty RAM stick, defective motherboard slot, or damaged pagefile | Execute Windows Memory Diagnostic (mdsched.exe). |
SYSTEM_SERVICE_EXCEPTION | Driver / OS Conflict | Antivirus conflict, third-party virtualization software, or bad driver | Uninstall recently added software; perform a clean boot. |
DPC_WATCHDOG_VIOLATION | Storage / Driver Hang | Incompatible NVMe SSD controller driver or outdated SSD firmware | Update storage controller drivers and NVMe firmware. |
WHEA_UNCORRECTABLE_ERROR | Hardware Exception | Unstable CPU/RAM overclock, severe overheating, failing power supply | Reset BIOS/UEFI settings to default; inspect CPU temperatures. |
KERNEL_DATA_INPAGE_ERROR | Disk Read Failure | Physical bad sectors on SSD/HDD or loose SATA/M.2 connections | Run chkdsk /f /r and inspect drive SMART health. |
9 Proven Steps to Fix a Blue Screen of Death
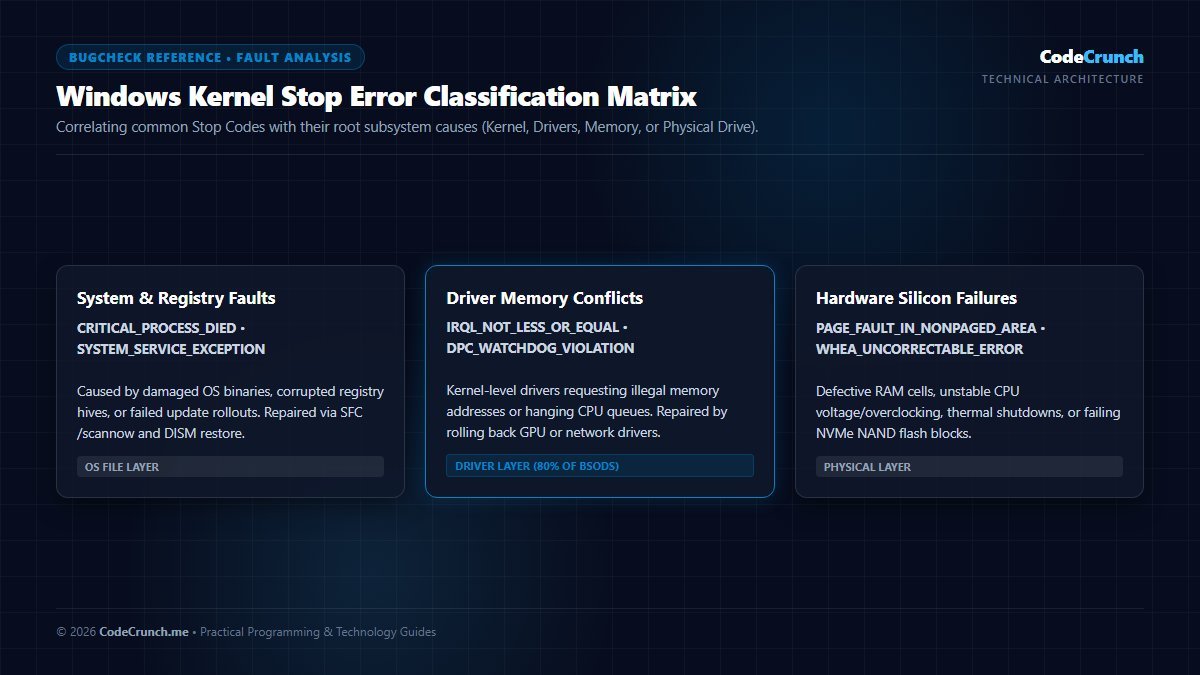
Systematic Diagnostics: When executing the 9-step workflow, isolating recent kernel-level changes is paramount. For deep diagnostic analysis, Microsoft provides the Windows Debugger (WinDbg) and the official Microsoft Learn Bug Check Code Reference to parse minidump memory files located in C:\Windows\Minidump.
Deep-Dive: Analyzing Minidumps with WinDbg
When automated crash recovery tools fail, analyzing the exact memory dump generated by the Windows kernel provides definitive proof of the culpable driver or hardware module. Follow this professional debugging workflow:
- Download WinDbg: Install the modern WinDbg application directly from the Microsoft Store or Windows SDK.
- Run as Administrator: Launch WinDbg with elevated administrative privileges to allow access to kernel memory dumps.
- Open Dump File: Navigate to
File > Open Dump Fileand browse toC:\Windows\Minidump\*.dmp. - Execute Analysis: In the WinDbg command line prompt, enter the command
!analyze -vand press Enter. - Inspect MODULE_NAME & IMAGE_NAME: The automated analyzer will inspect the crash stack trace and highlight the exact file (e.g.,
nvlddmkm.sysfor NVIDIA GPU drivers orstornvme.sysfor storage drivers) that triggered the fatal unhandled kernel exception.
By identifying the exact crashing module, you eliminate guesswork and avoid unnecessary operating system reinstalls.
Step 1: Disconnect External Peripherals and Note Recent Changes
Hardware conflicts are responsible for a surprising proportion of unexpected stop errors. Before attempting complex software repairs:
- Unplug all external USB hubs, printers, webcams, drawing tablets, external drives, and game controllers, leaving only your primary keyboard, mouse, and display connected.
- If the blue screen stops occurring after disconnecting peripherals, reconnect devices one by one to pinpoint the defective hardware or conflicting driver.
- Ask yourself what changed right before the crash: Did you update graphics drivers? Install a new antivirus? Upgrade your RAM? Roll back whatever component was introduced immediately prior to the failure.
Step 2: Boot into Windows Safe Mode
Safe Mode starts Windows in a minimal state, executing only the essential system services and generic display drivers. If Windows boots successfully in Safe Mode, you can conclusively eliminate primary kernel corruption and focus on third-party drivers or software conflicts.
- In Windows, hold the Shift key while clicking Start > Power > Restart.
- Upon reboot, choose Troubleshoot > Advanced Options > Startup Settings > Restart.
- Press 4 or F4 on your keyboard to enable Safe Mode (or 5 for Safe Mode with Networking).
Step 3: Repair Corrupted System Files Using SFC and DISM
System file corruption is a primary trigger for CRITICAL_PROCESS_DIED and SYSTEM_THREAD_EXCEPTION_NOT_HANDLED. Windows includes two built-in command-line maintenance utilities designed to verify file integrity against official Microsoft component stores.
- Press Windows Key + S, type
cmd, right-click Command Prompt, and select Run as administrator. - First, deploy the Deployment Image Servicing and Management (DISM) tool to verify the local Windows recovery image:
DISM /Online /Cleanup-Image /RestoreHealth - Wait for DISM to reach 100% completion. Next, run the System File Checker (SFC) to inspect and replace damaged protected operating system binaries:
sfc /scannow - If SFC reports “Windows Resource Protection found corrupt files and successfully repaired them”, restart your PC and verify system stability.
Step 4: Roll Back, Reinstall, or Update Faulty Hardware Drivers
Kernel-mode drivers operate with unrestricted hardware access. When a graphics, audio, or network driver encounters an uncaught exception, it takes the entire operating system down with it.
- Graphics Drivers: Use Display Driver Uninstaller (DDU) in Safe Mode to cleanly purge corrupted Nvidia, AMD, or Intel graphics drivers, followed by a fresh installation from the manufacturer’s official portal.
- Network Drivers: Faulty Wi-Fi adapter drivers frequently cause
DRIVER_IRQL_NOT_LESS_OR_EQUAL. If your wireless adapter is acting erratically, follow our step-by-step diagnostic guide on why does my WiFi keep disconnecting to perform a clean driver installation. - Device Manager Rollback: Open Device Manager (Win + X > Device Manager), right-click any device showing a yellow warning triangle, select Properties > Driver > Roll Back Driver.
Step 5: Test Physical RAM for Hardware Faults
Intermittent crashes that occur under varying workloads are the classic signature of physical memory degradation or unstable memory timings. Windows includes a dedicated diagnostic utility to test for defective RAM cells.
- Press Win + R, type
mdsched.exe, and press Enter. - Select Restart now and check for problems (recommended).
- Your PC will reboot into the Windows Memory Diagnostic Tool. Allow the test to complete all passes without interruption.
- If hardware errors are flagged, turn off your computer, reseat your RAM modules in their motherboard slots, and test each stick individually to isolate the defective module.
Step 6: Inspect Storage Drive Health and File System Errors
A failing storage drive or corrupted Master File Table (MFT) will cause Windows to freeze whenever the kernel requests data that cannot be read from the disk platter or flash cells. In our guide comparing SSD vs HDD vs NVMe, we detail how solid-state drives enter read-only safety modes when controller cells fail.
To inspect and repair file system inconsistencies:
- Open Command Prompt as administrator.
- Execute the following check disk command:
chkdsk C: /f /r - Type
Ywhen prompted to schedule the volume to be checked upon the next system restart, then reboot your computer. - Download a reputable SMART inspection tool (such as CrystalDiskInfo) to ensure your drive health status reports Good and has not accumulated reallocated sectors.
Step 7: Analyze Memory Minidumps with BlueScreenView
When a crash occurs, Windows creates a compact crash record in C:\Windows\Minidump\ containing the exact thread call stack, register values, and the specific driver filename (e.g., nvlddmkm.sys for Nvidia, netwtw10.sys for Intel Wi-Fi, or ntoskrnl.exe for the Windows kernel).
- Download NirSoft’s lightweight, free utility BlueScreenView.
- Launch the tool; it automatically parses all minidump files located on your primary drive.
- Look at the column titled Caused By Driver. If a specific third-party
.sysfile is highlighted in red, search for that filename online to identify the associated hardware device or software program requiring removal.
Step 8: Perform a Clean Boot to Isolate Third-Party Conflicts
Software utilities that install low-level kernel hooks—including aggressive third-party antivirus suites, custom RGB lighting controllers, and kernel-level anti-cheat engines (such as Vanguard or Easy Anti-Cheat)—can conflict with Windows kernel updates. If your computer is also exhibiting general unresponsiveness, review our comprehensive tutorial on why is my PC so slow and how to speed it up.
- Press Win + R, type
msconfig, and press Enter to open System Configuration. - Navigate to the Services tab.
- Crucial step: Check the box labeled Hide all Microsoft services.
- Click Disable all to prevent third-party background services from starting automatically.
- Navigate to the Startup tab, click Open Task Manager, and disable non-essential startup applications.
- Restart your PC. If the BSOD no longer occurs, re-enable services in small batches to identify the culprit.
Step 9: Use System Restore or Reset This PC
If software repairs fail to restore stability, reverting Windows to a known good historical snapshot or reinstalling the operating system will resolve persistent configuration corruption:
- System Restore: Press Win + R, type
rstrui.exe, and follow the wizard to restore your computer to an automated restore point created prior to the onset of crashes. - Reset This PC: Navigate to Settings > System > Recovery > Reset PC. Choose Keep my files and select Cloud download to reinstall a fresh copy of Windows while preserving your personal documents and media.
Critical Mistakes to Avoid When Fixing BSODs
- Do NOT download automated “registry cleaner” tools: These predatory programs often delete legitimate registry keys, turning a minor driver fault into an unbootable operating system.
- Do NOT disable Driver Signature Enforcement permanently: Bypassing driver signature verification exposes your operating system kernel to malicious rootkits.
- Do NOT delete files from
C:\Windows\System32: Deleting system files based on amateur forum suggestions will immediately brick your installation.
Frequently Asked Questions (FAQ)
Can overheating cause a Blue Screen of Death?
Yes. When your CPU or GPU exceeds critical thermal safety thresholds (typically above 95°C to 105°C), the processor executes thermal throttling. If temperatures continue to surge, the processor sends a hardware interrupt or triggers a WHEA_UNCORRECTABLE_ERROR stop code to shut down immediately before permanent silicon damage occurs. Clean dust filters and verify that CPU cooling fans or liquid pumps are operating properly.
Does a Blue Screen of Death mean my computer is permanently damaged?
No. Over 80% of all recorded Blue Screen incidents are caused by software flaws, buggy driver updates, or minor file system corruption rather than broken physical hardware. Following the SFC, DISM, and clean driver reinstallation procedures outlined above will resolve the majority of crashes without purchasing replacement parts.
Why does my PC keep crashing with ntoskrnl.exe?
ntoskrnl.exe is the core Windows Operating System Kernel binary. When crash logs report ntoskrnl.exe as the faulting module, it rarely means the Windows kernel itself is broken; rather, another faulty driver made an illegal memory call that crashed the kernel. Analyze full minidump files or run Driver Verifier to pinpoint the actual driver passing bad data to the kernel.
Summary Checklist
Resolving Windows Blue Screen crashes requires patience and methodical elimination. Begin with peripheral disconnection and Safe Mode verification, repair system files with SFC and DISM, update or purge suspect drivers, and inspect physical RAM and storage health. By following these 9 verified steps, you can eliminate mysterious system crashes and keep your PC running reliably.